


 |
| The box is from construction board from a Cutting Craftorium USB, I used the rice paper to the top of the box then using the sparkle mediums through one of the stencils I then took a separate piece of card sprayed it with the cadence mixed media inks stamped it using some of the stamps then die cut using the flower dies. the snowflakes and the word are the mixed media dies made thicker to enable you to die cut construction board. I then painted them using the new cadence metallic paints. I also used the stencils and paints to decorate the sides. |


 |
| This is a wall hanging from a cutting craftorium USB. I painted with Jesso then sprayed using the mixed media inks. I then using the stencil that comes with the cutting craftorium USB stencilled using the sparkle medium. The flowers were made the same way as previously stated. |


 |
| This is a picture frame from a cutting craftorium file I cut the bird cage from construction board, layered it then painted using some of the cadence paint. I then stamped out the owl and cut using the corresponding die. I then cut a black owl and off set it behind the printed one. |


 |
| E-Dies made on the scanncut, all of the backgrounds are also included on the USB |

 |
| A medium sized box made with 4x construction Board 750 microns glued together using pinflair bookbinding glue then covered with papers printed out (also included on the USB). The box was also put together using the bookbinding glue along the edges then the edges darkened using an alcohol marker. |

 |
| This flower pot was constructed the same way as the previous project with the added use of liquid pearls to add dimension on the outside and the use of a paint from imagination crafts for the saucer and inside and edges of the pot. |


 |
| This is the small box (set of three on the USB) made the same way as the first project with the addition of one of the many flowers available on the USB to decorate the sides and top of the box, I used a colourway to suit the printed paper. |


 |
| an amazing shelf unit constructed in the same way as the boxes. I have decorated using gesso first then a pale pink paint. the shelves were decorated using one of the stencils available on the USB (cut from doeflex). I used imagination crafts construction paste, once dry I added two way glue (tacky once clear) and brushed over guilding flakes then burnished to a lovely shine |
 |
| For this card I printed out the toppers and using the corresponding svg file scanned it into my scanncut and cut it our I also printed off some back ground papers. |
 |
| For this card I printed off the topper and some decoupage layers and using the svg files for them scanned the printouts into my scanncut using it to cut them out . the block colours on the right hand side are a stencil I cut out using doeflex. I used imagination crafts structure paste through the stencil, allowed it to dry and then painted them using imagination crafts starlight paints. I finished the card by adding the dash line around the edges in black and white. |
 |
| This is a decoupaged topper with areas highlighted using glossy accents, the circles are another stencil cut again using doeflex I used pearlescent embossing paste this time. |
 |
| The mothod for this card are the same as the previous one with a heart stencil |
 |
| The added extra with this card is the digital stamp I took into M.C.S and added orange colour to before scanning into the scanncut and cutting out. |
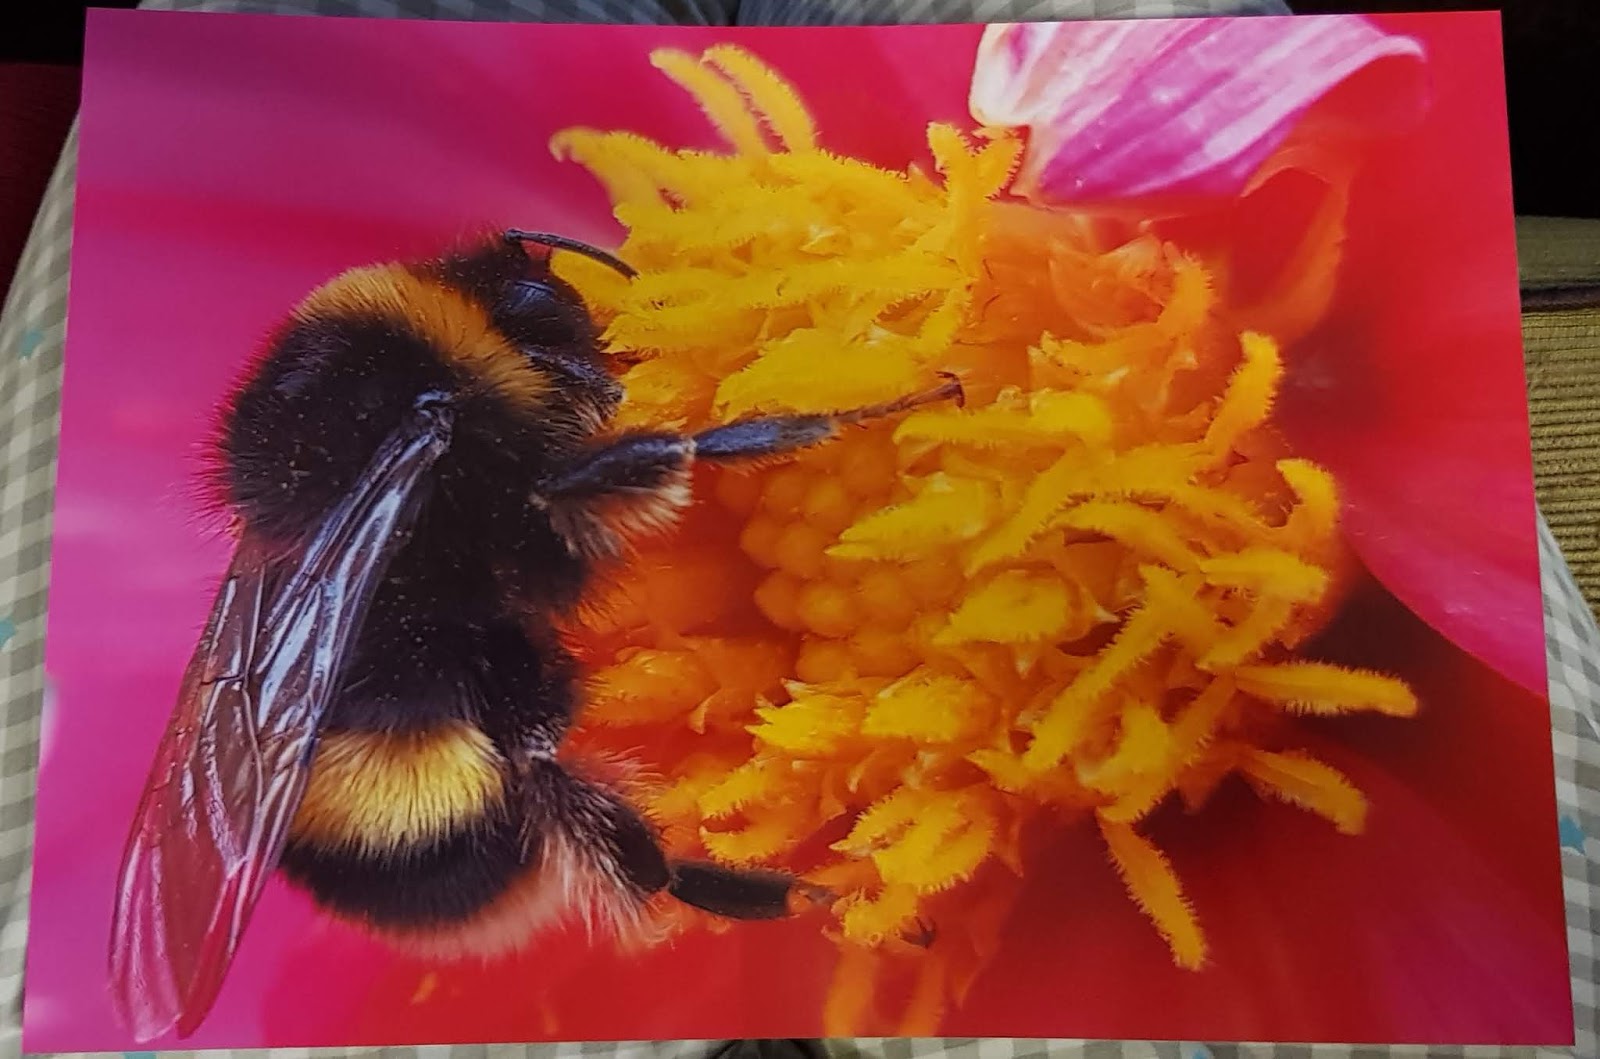 |
| I had to share this, bear with me as there is a bit of a story. So a couple of weeks ago I went to Bakewell (in the Peak district one of my favourite areas of the country). Whilst there I happened upon a great little place called mad4ink (info@mad4ink.co.uk) owned by Paul. He was demoing an Epson printer printing the highest quality photos so good I bought one (it came with a free set of inks too!!). So we got chatting and I explained I am a crafter and we shared an interest in cardstock photo paper etc. Paul very kindly gave me some samples to try and now coming to this photo printed on 210gm gloss photo paper that Paul stocks. I took this on my phone and sent it to my epson printer and look how amazing it is what quality. I am in love with my new Epson (Paul also stocks one which can handle up to 400gsm card stock (that will be my next purchase I hope!!!) |
